Submit a Document/Upload a File to a Project
- May 4
- 1 min read
Updated: May 11
Navigate to the MGOconnect Customer Portal
Go to mgoconnect.org
Choose Customer Portal
Select your state and Jurisdiction
Log in with your credentials
Select "Dashboard" at the top of the page
Open the Permit Project
Tip: It is important to remember when uploading files, to check that the file type and size are appropriate for uploading.
Step #1 - "Docs" Tab
After opening the permit card you should be on the “Overview” page of the selected permit > Navigate to the “Docs” page.

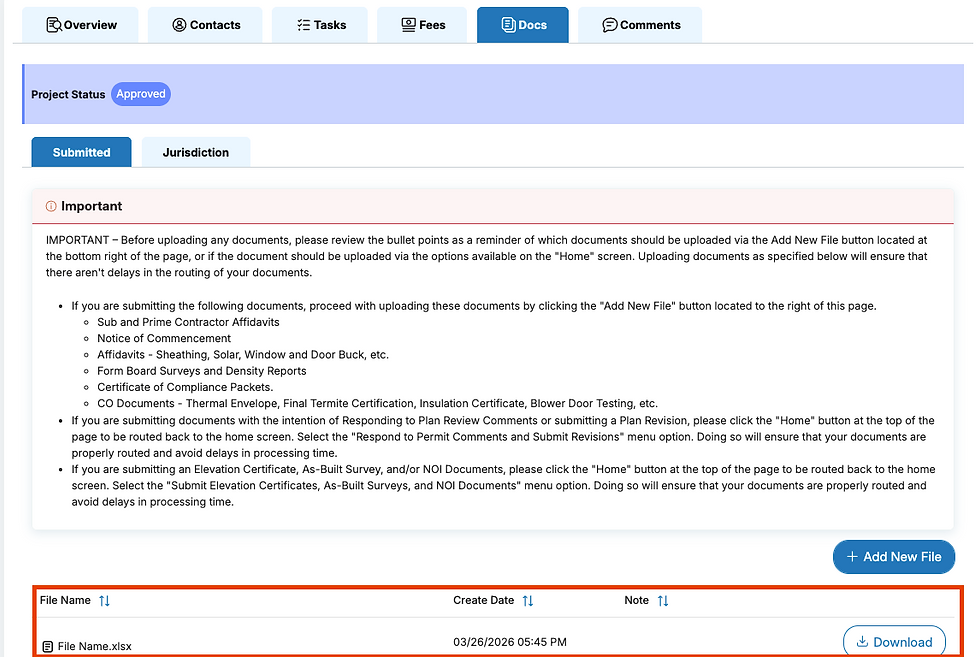
Step #2 - Submitted Tab
Once at the “Docs” tab, Select “Submitted” tab and then “Add New File”

Step #3 - Select File
Select “Choose” from the pop-up window, and select the file you’d like to upload

Step #4 - Upload File
Once you have chosen your file, you will see it in the window, ready for Upload.
Press the Red “X” to undo this action, and choose another file to upload, or Cancel the process entirely

If successful, you will see your file appear as an item on the screen
If you are Unable to Upload a Document
There are several reasons why you might not be able to upload a document, the most important and frequent cause is Project Status. Please see article about Project Statuses here: Project and Request Statuses
For example, the below Project is in an “Expired” status, which will prevent action from being taken:
